Upload and Sync Shopify with Amazon
7 Steps - Setup/Upload products to Amazon Seller Central Account:
The new Shopify Amazon Sales Channel makes it easier than ever to list your items on Amazon. Opening our company to the largest marketplace online. Thanks to Amazon and Shopify, you can have your item prepared to sell in less than 30 minutes with this tutorial.
In this tutorial, we created a step-by-step guide going beyond Shopify's original article.
How to Sell on Amazon Using Shopify
In the Shopify's Article, they cover: how to post products on Amazon, add the Amazon Sales Channel to your Shopify store, buy UPCs and create Amazon listings for your products, claim existing Amazon Listings in your Shopify Store, and set up your Inventory Tracking Policy.
Unfortunately, they didn't show you the advanced setup directly through Amazon in bulk. We will provide a diet version of the setup, however upon request we will produce a more advanced tutorial to help with Amazon SEO and more in-depth listings. At the time of this article, Amazon's Sales Channel can only help you sync existing products or new clothing products.
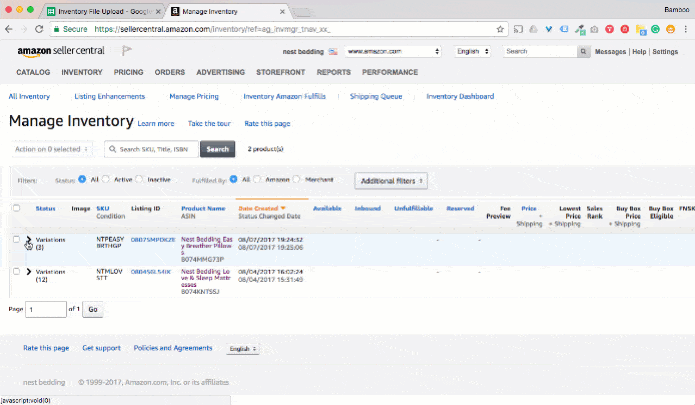
Start between steps 6 and 7 to get the full use of our article.
Selling on Amazon offers great benefits whether you are selling locally in the US or globally.
- You can sell anything you want
- No difficulties matching and updating item descriptions in your E-commerce shop
- With Shopify, you can still sell your e-commerce products even when they run out
This 7-step tutorial and tips give you the best tips for setting up your Amazon account with Shopify and kickstarting your e-commerce business today.
1. Log into Your Amazon Seller Central Account at https://sellercentral.amazon.com
Input your username and password to access to your account. On the navigation menu, find and select the inventory option. Select Upload, then select Add product from the drop down menu.
2. Generate Product Inventory Template
Search and select the categories matching the Type of products you want to upload. Then, pick all the applicable product categories for your business. Once complete, Download the inventory template.
3. Open the Inventory Template
Reorder the tabs at the base of your new product template sheet you downloaded to match the following list.
- Instructions
- Template
- Example tabs
- Data definitions
- Valid values
We suggest utilizing Google Sheets to setup the inventory for enhanced flexibility and usefulness.
4. How to Create a Variant Product - Parent
You can only setup a parent variant if your products have multiple variants on Amazon. Use the parent SKU as the cover for your products. The parent SKU should speak for the core product. Tip- Do not incorporate any child-level information (size, color, UPC) on the parent SKU.
5. How to Create a Variant Product - Child
To setup the child variant, you must include the product size, name, and manufacturer, color ASIN and UPC on the descriptions. Tips: You can likewise utilize the Check My File feature to naturally recognize variety sets in your stock document.
6. Export Sheet & Check File for Errors
Upload your document for error checking to spare you from resolving errors later. Once uploaded, it will be 48 hours before you may delete the document. Tips: to prevent headaches read about delete, update and create files for greater adaptability when uploading and deleting products.
7. Upload Clean "Product Inventory Template" File
Review the results of your checked document, resolve any detected errors, then upload the clean inventory template and wait for processing to complete. Contingent upon item volume, stock format preparation ordinarily takes between 3-5 minutes for the refresh to appear in your stock dashboard.